Here is one quilt that I was especially pleased to complete. Not only was it for some good friends, but it also presented a unique challenge. From 2008 we bring you another bit of quilting history.
I was pretty excited to get this next quilt done for a variety of reasons.
One
reason is because of the material I used. The pattern of the material
included a series of teddy bears, books, and smiling moons that looked a
bit like a stuff set up on a child's shelf. This pattern ran along one
edge. Above all the clutter was a broad expanse of deep blue with
yellow stars. Then the bear/book/moon pattern ran along the opposite
edge. You could fold this material down the middle and both sides
looked the same.
Silly me, I took a perfectly good material pattern, cut it into strips, and sewed it back together.
The first cut was along each edge. I used those strips for the outside of the block.
The next cut was through the bears. That got used for the next strip towards the center.
The third cut went through the top of the bears. At that point, I started to get some of the stars and the night sky.
The
fourth cut was mostly stars, but with enough bear head tops that I just
put it in the scrap pile. That left a whole bunch of blue sky and
stars from which I made the other half of the blocks.
Here's
a picture of the material with the first cut already removed. I used
all of the edges for the quilt. There's lots of other stuff left over.
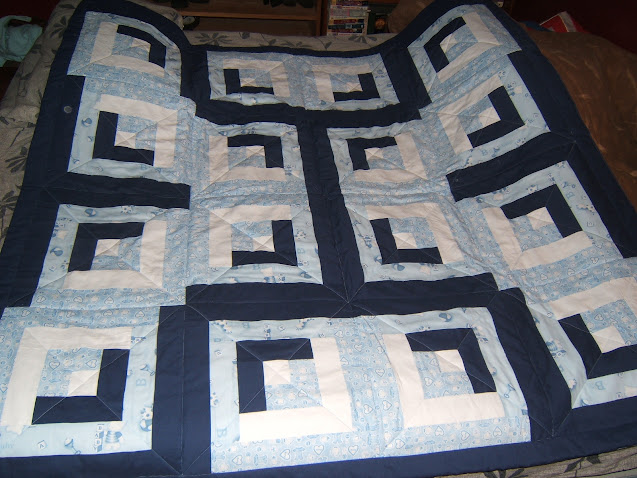
The
resulting block ended up looking like this. A close inspection reveals
that I left off a couple of strips. The resulting blocks ended up
being 12" x 12" rather than 14" x 14". That worked out well for the
backing material.
The
final result is below with the proud mama and papa to be. The border
material was designed by the same person that designed the material used
for the panels; Patty Reed. The blocks in the border material were
almost the perfect height to provide a 2 inch border.
The
second reason I was excited about this project is the stitching used to
"quilt" everything together. I was getting kind of bored with just
running straight lines down the seams....otherwise known as
stitch-in-the-ditch....as well as straight lines across the corners.
To
ease my boredom, I bought an 18" wooden embroidery hoop and a chalking
tool. I used the chalking tool to trace the inside of the hoop. I then
connected each of the circles by drawing in a line tangent to each
adjacent circle. Once that was done, it was pretty easy to stitch the
cloverleaf/Celtic knot pattern that you should be able to see in the
picture below.
Here is the hoop and chalking tool.
And
here's the finished quilt. Notice the material used for the back? As
it turns out, Lindsey...on the left....has a new sewing machine and took
a stab at quilting. Denis...on the right....and yes, I'm spelling his
name correctly....brought it in for me to check it out. I noticed right
away that she had used a similar material that was light green instead
of light blue. I didn't draw any blood biting my tongue, but it was a
close thing. And her quilt was a pretty nice looking quilt, too!
The
most important reason that I was excited about this project is that it
was for Denis and Lindsey. Just take a look at those two. Don't they
look like they are a lot of fun. They are. Trust me. It was great to
be able to do something nice for them at this special time in their
lives.